Lights, camera, action! How to take professional home photos of your baby
•Posted on May 29 2020
Here at Tesa Babe, our daughters are all grown up, but we still love to look back at old baby photos of our girls. Back then we took photos on clunky cameras or throwaway ones, and we have albums filled with grainy pictures of ourselves sporting really bad hair, proudly holding our babies clad in oversized bows and frilly dresses. Ah, the 80s.
In some ways, we’re glad that we didn’t have cameras readily available in our pockets in those days. Those dusty photo albums in the basement are the only proof we need that we actually had perms. On the other hand, you can never have too much evidence that your adult children were once cute babies – take it from us!
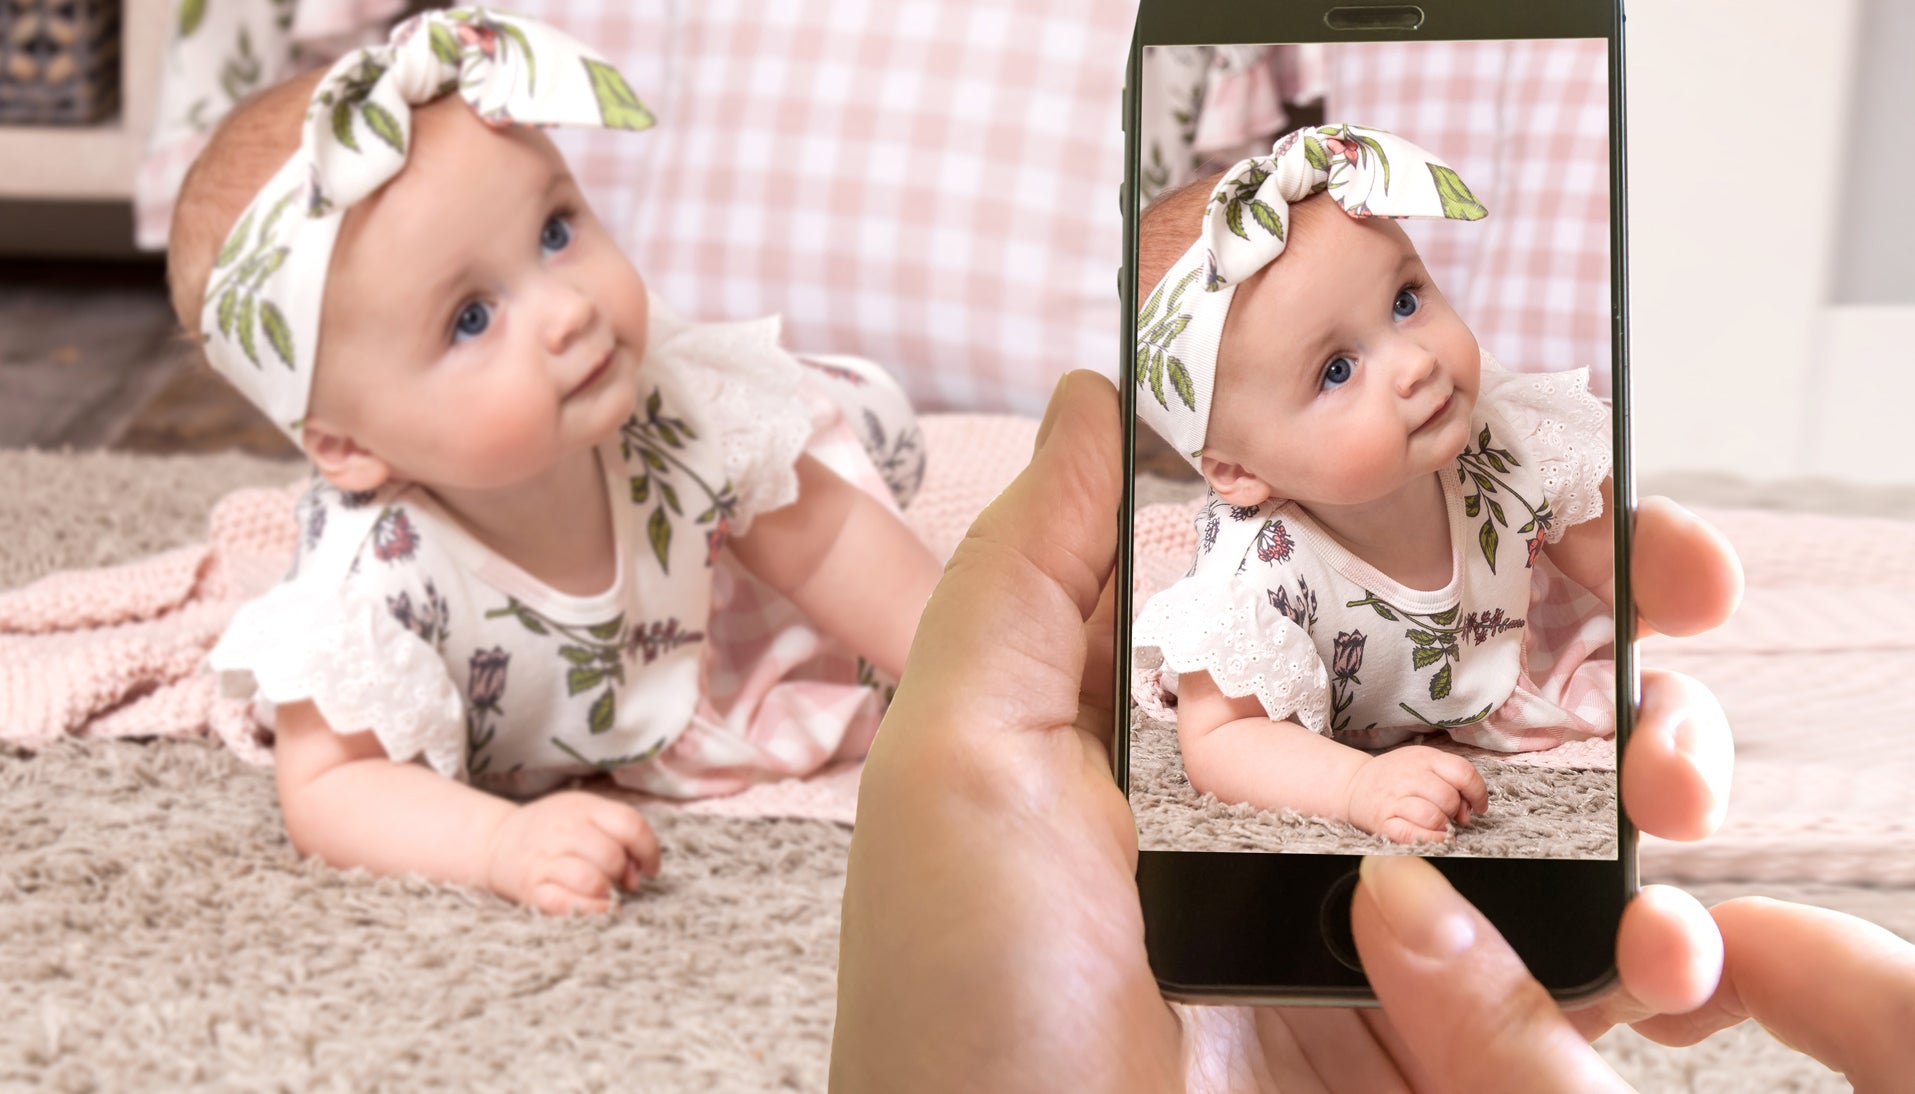
Luckily, these days you can take professional photos right on your phone! We asked our own photographer to share some suggestions for taking ultra-professional smartphone photos. Read on for her tips and tricks!
Lighting is everything
Want to know the key to taking amazing photographs? It’s pretty simple, really. Whether you’re indoors or outdoors, it’s all about the lighting.
More specifically, it’s all about the natural lighting. The flash on your phone has a tendency to make the subject look stark and bleached – not like the adorable ray of sunshine that your baby is.
The best light of the day for photos is usually between 8am and 10am or 2pm and 5pm, depending on the time of year. Avoid midday light as it may cast harsh shadows. And always make sure that the sun is not directly in your baby’s eyes.
But what if you want to take photos indoors? No worries. Similar rules still apply, and natural light is still the best. Simply find a sunny spot in the home – in front of a large window, for example. Plop your baby down facing the window so the light is on their face. Lighting from behind may obscure your baby’s features. It would be a shame to miss those cute giggly faces because of a lighting error!
Location, location, location
When it comes to location, simplicity is the name of the game. It would be devastating, for example, if your baby was outshined by a full garbage bin in the background, or a curious pet. Scan the location thoroughly, removing any items (or pets) that might distract from the adorable subject of the photo before initiating full photo shoot mode.
Next, think about the color scheme. Choose an outfit for your baby that either matches the background or complements it.
It can also be super fun and cute to use props in the photo, like numbers indicating their age in either months or years. You can also let your baby snuggle up with a color-coordinated stuffed animal, bundle them up in a basket, rock them in a baby rocking chair, or set them on a stool (if they can sit up on their own).
Dress to impress
Again, you want the focus of the photo to be on your baby, so make sure whatever you dress them in is in good shape and is free of chaotic patterns that might distract the eye. Hats and headbands are always fun to add, just make sure they match the clothes!
Work the camera
Babies are teeny tiny creatures, so to get the best angle of them when they’re sitting or standing, it’s best to get down to their level for the picture.
If the baby is lying down, feel free to angle from overhead while they gaze up at you.
So there you have it! Now grab an adorable outfit, find some props, and start taking some professional home photos!